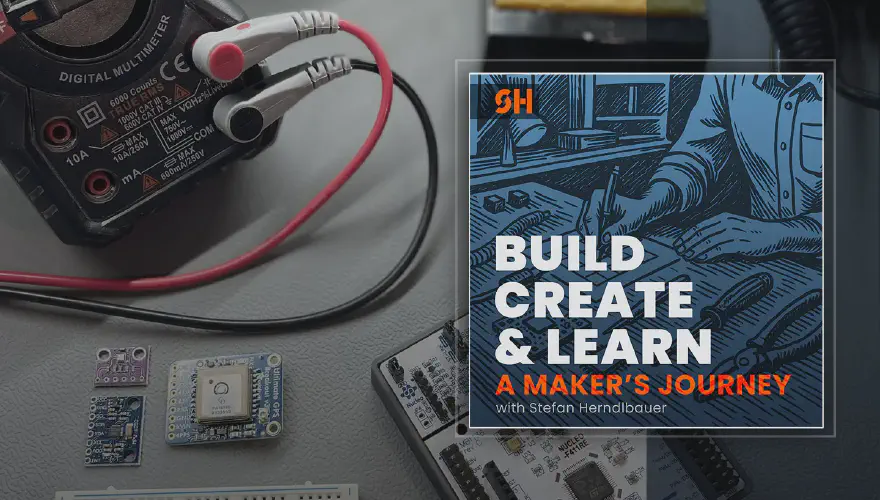
A Maker’s Journey – Episode 2: STM32, Debugging & BME280 Sensor Data
Build, Create & Learn — A Maker’s Journey Episode 2, I dive deep into the first real hands-on steps of my long-term project: building a custom FPV drone telemetry system. It’s all about streaming live flight data—altitude, GPS, environmental stats—back to the ground in real time. Sounds ambitious? It is. But today’s story starts small: a blinking LED, a slightly terrifying debugger update, and eventually, our first working sensor reading.
Getting Set Up: The STM32CubeIDE Journey
Setting up the STM32CubeIDE on my Mac was surprisingly smooth (after signing up with STM). But once inside, the difference from my usual Arduino IDE world was immediate. Based on the Eclipse IDE, which I already used years ago, I found myself right at home was ready to start.
Pro tip for beginners: start your STM32 project by selecting your actual board, not just the raw microcontroller. My Nucleo board STM32F411RE had all its components pre-configured in CubeMX—meaning fewer unknowns, less frustration.
Debugging Panic: My First debug message & Firmware Update Scare
Naturally, the first thing I tried was a printf("Hello from STM32"); message to validate the compilation and building was successful. Spoiler: it didn’t work.
Cue a moment of panic when I was prompted to update the debugger firmware. Flashing anything new to a dev board always feels risky. But it went smoothly… and still no debug output.
After a solid chunk of head-scratching, it turned out I’d used single quotes instead of double quotes in the printf. Blame Python and TypeScript muscle memory. One tiny fix later… and boom—my first successful message.
That moment? Pure maker joy.
From Blinky to BME280: The Learning Curve
Once I got the LED blinking (aka “Hello World” for embedded systems), it was time to try something more ambitious: connecting my first sensor, the BME280.
Soldering the pin headers was a fun detour. I even 3D-printed a breadboard holder to keep everything steady while I worked. Felt like a real meta-maker moment—using one project to improve another.

But wiring the sensor wasn’t straightforward. I2C or SPI? What do CSB and SDO do? Do I need pull-up resistors? And why is the pinout diagram for my Nucleo board different on mbed.com than in the datasheet?
Eventually, after some well-earned head-scratching and a bit of cable-swapping… I had it. Live temperature, humidity, and pressure data, straight from the sensor to my debug console.
Magic. Real-world magic.
My Learning Stack: YouTube + Udemy = Gold
This whole process reminded me how I learn best. YouTube is perfect for the quick win—like how to solder pins the right way up. But for deeper understanding, I turn to structured courses. I’ve been following the excellent Mastering Microcontroller and Embedded Driver Development on Udemy, and it’s helped immensely with understanding registers, HAL layers, and debugging logic.
Especially helpful was this YouTube video, which also provided a complete driver for the BME280 sensor.
Altitude Achieved: Adding My Own Logic
My last little victory in this episode: converting pressure data to altitude. A bit of math, some googling, and a few tweaks later, I had the height above sea level calculated and showing up in the console.
Not a big deal from a code perspective—but it felt amazing to take someone else’s driver code and add my own logic on top. It’s those moments when the project starts to feel like mine.

What’s Next: GPS Data and More Challenges Ahead
This was just the beginning. Next up in the podcast, I’ll be talking about GPS modules, NMEA strings, and the challenge of getting reliable positional data in real time. There’s still so much to learn, but that’s what this journey is all about.
If you’re curious about embedded systems, maker projects, or just enjoy seeing products evolve step by step, I’d love to have you along for the ride.
Let’s keep building, creating, and learning — together.
