After 7 Years with My Anycubic i3 Mega, I Switched to the Bambu Lab P1S — Here’s Why
3D printing has changed dramatically since 2018 when I started with my first printer, the Anycubic i3 Mega. The speed, automation, and material options available today feel like science fiction compared to what 7 years ago was available. And eventually, the pull of these advancements became irresistible. So, after a lot of deliberation (and a perfectly timed sale), I took the leap. A shiny new Bambu Lab P1S with AMS unit now sits in my workshop — and it’s already transforming my workflow.
This isn’t just a review. It’s a personal reflection on why I upgraded, what I learned from my years of tinkering, and how this next step is going to shape my future projects.

My Old Friend, the Anycubic i3 MEGA:
A Love-Hate Relationship
Back in 2018, the Anycubic i3 Mega was a solid entry point into 3D printing. It gave me my first taste of turning CAD designs into physical parts — a kind of everyday magic. But like many makers, I didn’t leave it stock for long.
I upgraded it relentlessly: silent stepper motor drivers to reduce noise, custom fan shrouds, an enclosure to help with tricky materials, and even an OctoPrint server on a Raspberry Pi for remote control. I learned to diagnose layer shifts, fine-tune extrusion rates, and calibrate the Z-axis until I could do it in my sleep.

Honestly, the fact that the Anycubic needed so much attention was part of why I grew so much as a maker. But over time, the two biggest limitations started to wear me down: material versatility and speed.
PLA and PETG? Great. ABS? A nightmare. I wanted a strong, heat-resistant ABS mount for my FPV drone camera — and I failed repeatedly. No matter what adhesive, enclosure tweak, or temperature setting I tried, warping won. Eventually, my print bed became permanently sticky and slightly warped during one of those ABS experiments.

Flexible TPU filament was another frustration. The Bowden extruder setup on the Anycubic simply couldn’t handle it. I looked into a direct-drive upgrade, but by the time I decided, the kits were sold out.
And then there was speed. My Anycubic could print okay quality, but slowly — around 50 mm/s. Larger functional parts sometimes took over 24 hours, and more than once I woke up to a failed overnight print that was just a big, tangled spaghetti of filament. Manual bed leveling didn’t help — the ritual of paper shimming each corner was a constant test of patience.
The State of 3D Printing Today
While I was fighting with ABS warping and bed leveling, the 3D printing world moved forward. CoreXY motion systems became common in consumer machines, allowing for both higher speeds and precision. Features like input shaping drastically reduced vibration artifacts. Automatic bed leveling and flow calibration became standard, not luxury extras.
And multi-material printing? It’s gone from a niche hack to a plug-and-play experience. Filament sensors, auto-drying, and slicer integrations mean the gap between “press print” and “finished part” has never been smaller. The maker world is in a golden era for turning ideas into reality — fast.
The Tipping Point: Why the Bambu Lab P1S
I had been eyeing the Bambu Lab P1S for months. It promised exactly what I was missing: speed, reliability, and material freedom. The AMS (Automatic Material System) meant I could finally work with TPU, ABS, and dissolvable supports without frustration.
The final push? A 30% discount and some leftover birthday money. That sale turned my internal “Do I really need it?” debate into “I’d be crazy not to.” This wasn’t about joining the hype train — it was about removing the bottlenecks holding my projects back.
For the first time, I feel confident enough in my print quality to consider selling my own designs. That confidence alone makes the investment worth it.
First Impressions: Unboxing the Future
Setup took less than 40 minutes, and that included double-checking every cable and setting. Compared to my Anycubic build, it felt almost too easy — a genuine plug-and-play experience.
The automation is the first big “wow” moment. Automatic bed leveling, flow calibration, and vibration compensation happen without me touching a tool.

And then there’s the AMS:
• Automatic filament changes
• Keep the filament dry
• Multi-color and multi-material printing
• Automatic nozzle purging and cleaning
For me, this is a dream. I can finally imagine printing a rigid drone frame with integrated TPU dampers in a single job.
The built-in camera is another unexpected win — I can monitor prints from anywhere, without setting up a separate Raspberry Pi or webcam.
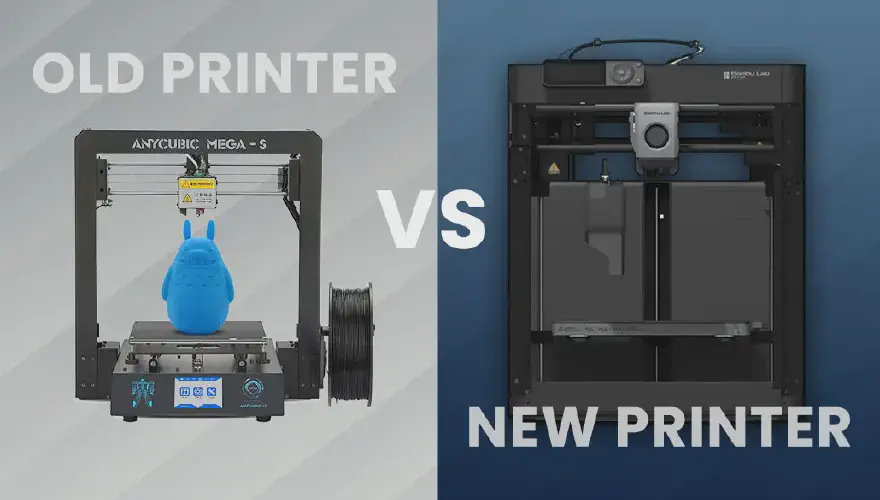
The Grand Comparison: Old vs. New
Standard Benchy print time:
• Anycubic i3 Mega: 120 minutes
• Bambu Lab P1S: 25 minutes

That’s a 5x speed improvement.
Noise-wise, they’re similar, though the P1S produces more vibration from its rapid moves. I’ll probably add vibration-dampening feet soon — because even the best machines can benefit from a maker’s tweak.
Quality is where the difference becomes even more obvious. My P1S prints have a smoother surface finish and sharper details, straight out of the box. Yes, you still tweak temperatures and retraction settings, but the baseline quality is simply higher.
Lessons Learned from 7 Years of Tinkering
If there’s one thing my Anycubic years taught me, it’s that troubleshooting builds skill. A few takeaways I’ll always keep:
- Calibrate often — mechanical precision matters as much as slicer settings.
- Don’t fear mods — even stock machines can become powerhouses with the right upgrades.
- Know your materials — every filament has its quirks, and understanding them saves time and frustration.
- Document your changes — future you will thank past you when a setting “just works.”
Why Not a Prusa or Creality?
I briefly considered the Prusa MK4 for its open-source ethos and reliability, but the print speed and AMS convenience of the P1S won me over. Creality’s K1 was tempting for speed, but Bambu’s reputation for consistent, high-quality output tipped the scale. This decision was about practical results, not just specs on paper.
What I Printed First
My first P1S job was a simple but telling test: a multicolor toolholder for my workbench. With the AMS swapping colors automatically, I didn’t touch the printer from start to finish — and it completed in under an hour. No failed layers, no stringing, and perfect adhesion.
It was a small part, but symbolically, it showed me that my days of babysitting every print might be over.
Looking Ahead: Bigger, Better, Faster
The P1S opens doors to projects I couldn’t attempt before:
• ABS and ASA enclosures for outdoor electronics.
• TPU gaskets and dampers for drones and robotics.
• Multi-material parts combining rigid and flexible elements.
• Functional prototypes printed overnight — with confidence they’ll finish.
I also plan to revisit some old projects, like my hydroponics system, but this time, parts will take hours, not days, to produce.
Final Thoughts
My Anycubic i3 Mega will always have a place in my maker story. It taught me patience, problem-solving, and the inner workings of 3D printing. But there’s a time to tinker, and a time to let the tool just work.
The Bambu Lab P1S isn’t just faster — it’s a creative accelerator. It means more finished projects, less wasted material, and the freedom to experiment with materials I once avoided.
Sometimes upgrading isn’t about abandoning the past — it’s about giving yourself the best possible future for the things you want to make.